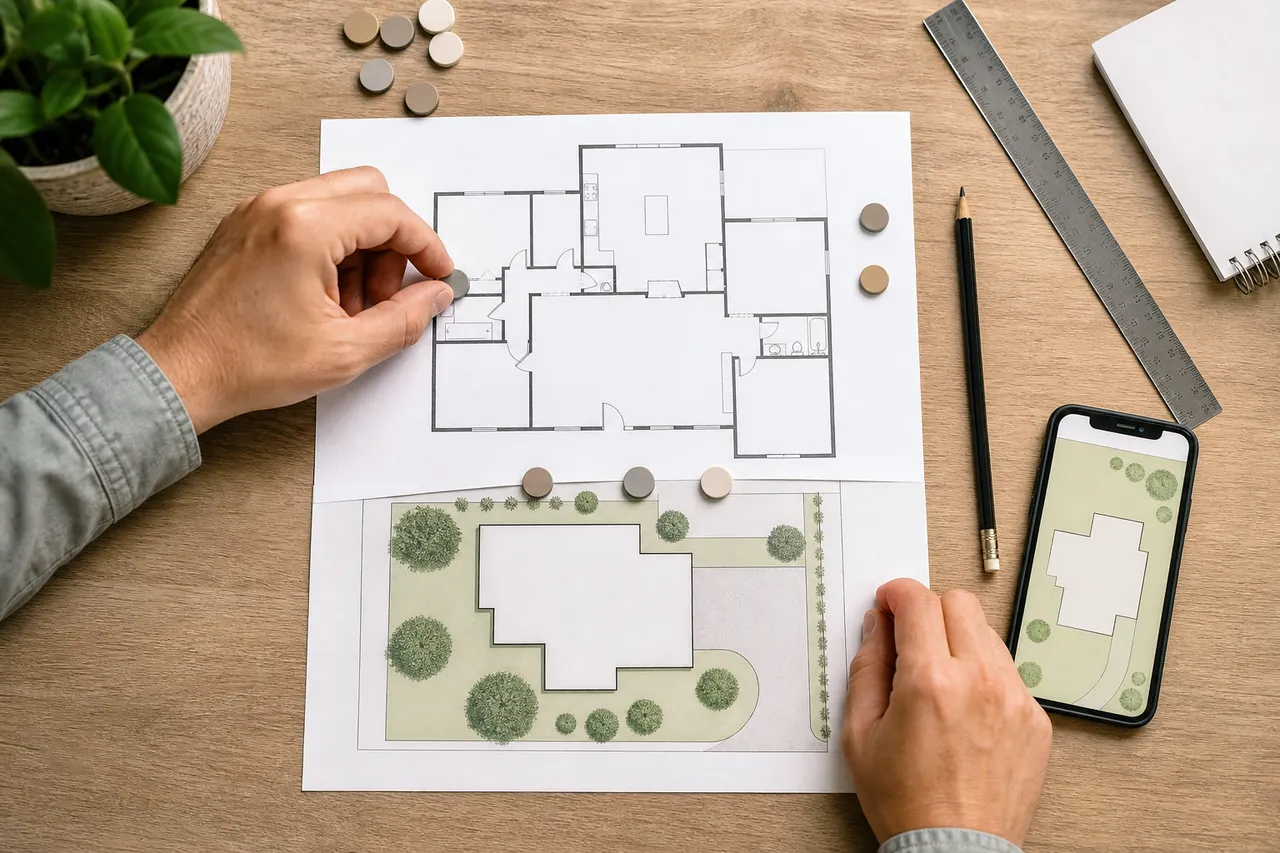
Pest activity rarely makes sense as an isolated dot on a floor plan. A sighting may occur near moisture, stored food, vegetation, waste, a utility opening, or a route used by people and deliveries. A property observation map places those details in context while keeping identification and treatment decisions with a pest professional.
Make a Simple Base Map
Sketch the building outline and label the front, rear, and sides. Add rooms or major interior zones only to the level needed for locating observations. Mark doors, accessible windows, garages, utility areas, porches, patios, sheds, waste storage, and obvious drainage features.
The drawing does not need precise architectural measurements. It needs consistent names. If one person writes “east bedroom” and another says “back room,” choose one label and use it throughout the record.
For multi-level properties, use a separate page for each floor. Note which rooms sit above or below one another. Sounds and moisture can seem to come from a different location than their actual source, so the map should show where they were noticed without claiming an origin.
Create a Neutral Symbol Key
Choose simple symbols for sightings, sounds, droppings or material, visible moisture, food or waste conditions, and possible openings. Use a question mark for anything uncertain. Add dates beside symbols or number them to match a dated note.
Different observations should not share one symbol. An insect seen near a door is not the same evidence as a gap under that door. Keeping the marks separate helps a technician examine relationships rather than inheriting a conclusion.
Do not mark an opening as an “entry point” unless that role has been confirmed. Call it a visible gap, damaged screen, pipe penetration, or other factual description.
Add Exterior Context
From normal, safe walking areas, note vegetation touching the building, stacked materials, standing water, pet-feeding areas, downspout discharge, damaged vents, and gaps plainly visible around utility lines. Record the condition without reaching under structures, climbing, entering crawlspaces, or disturbing nests.
Show nearby features that affect access, including locked gates, dense planting, steep slopes, and areas used by pets or children. A provider needs this information both for inspection planning and for discussing any proposed service safely.
Connect Every Mark With a Note
For each observation, write the date, time, exact location, and what was seen, heard, or smelled. Include frequency and any ordinary activity occurring nearby. If a photo is available, give it the same reference number as the map symbol.
Document changes. A dried moisture area, repaired screen, moved storage box, or trimmed plant can alter what a technician sees later. Note when the change happened rather than redrawing history.
Keep Treatment Off the Map Until Confirmed
The initial map should describe conditions, not prescribe products or placement. Do not add store-bought treatments, close suspected wildlife openings, or move contaminated material simply to prepare the document. Those actions can scatter activity, change evidence, or create avoidable exposure.
After professional assessment, a separate service layer can show inspected areas, confirmed findings, monitoring locations, approved work, and follow-up points. This keeps homeowner observations distinct from professional conclusions.
Use the Map Over Time
Bring the map to the service visit and walk through it in a consistent order. Ask the provider which observations appear connected and which remain unverified. Update the document after repairs, sanitation changes, monitoring, or later sightings.
A useful property map is never about making the homeowner the diagnostician. It is a shared reference that turns scattered details into locations and dates, helping the pest professional inspect efficiently and explain a plan grounded in the actual property.